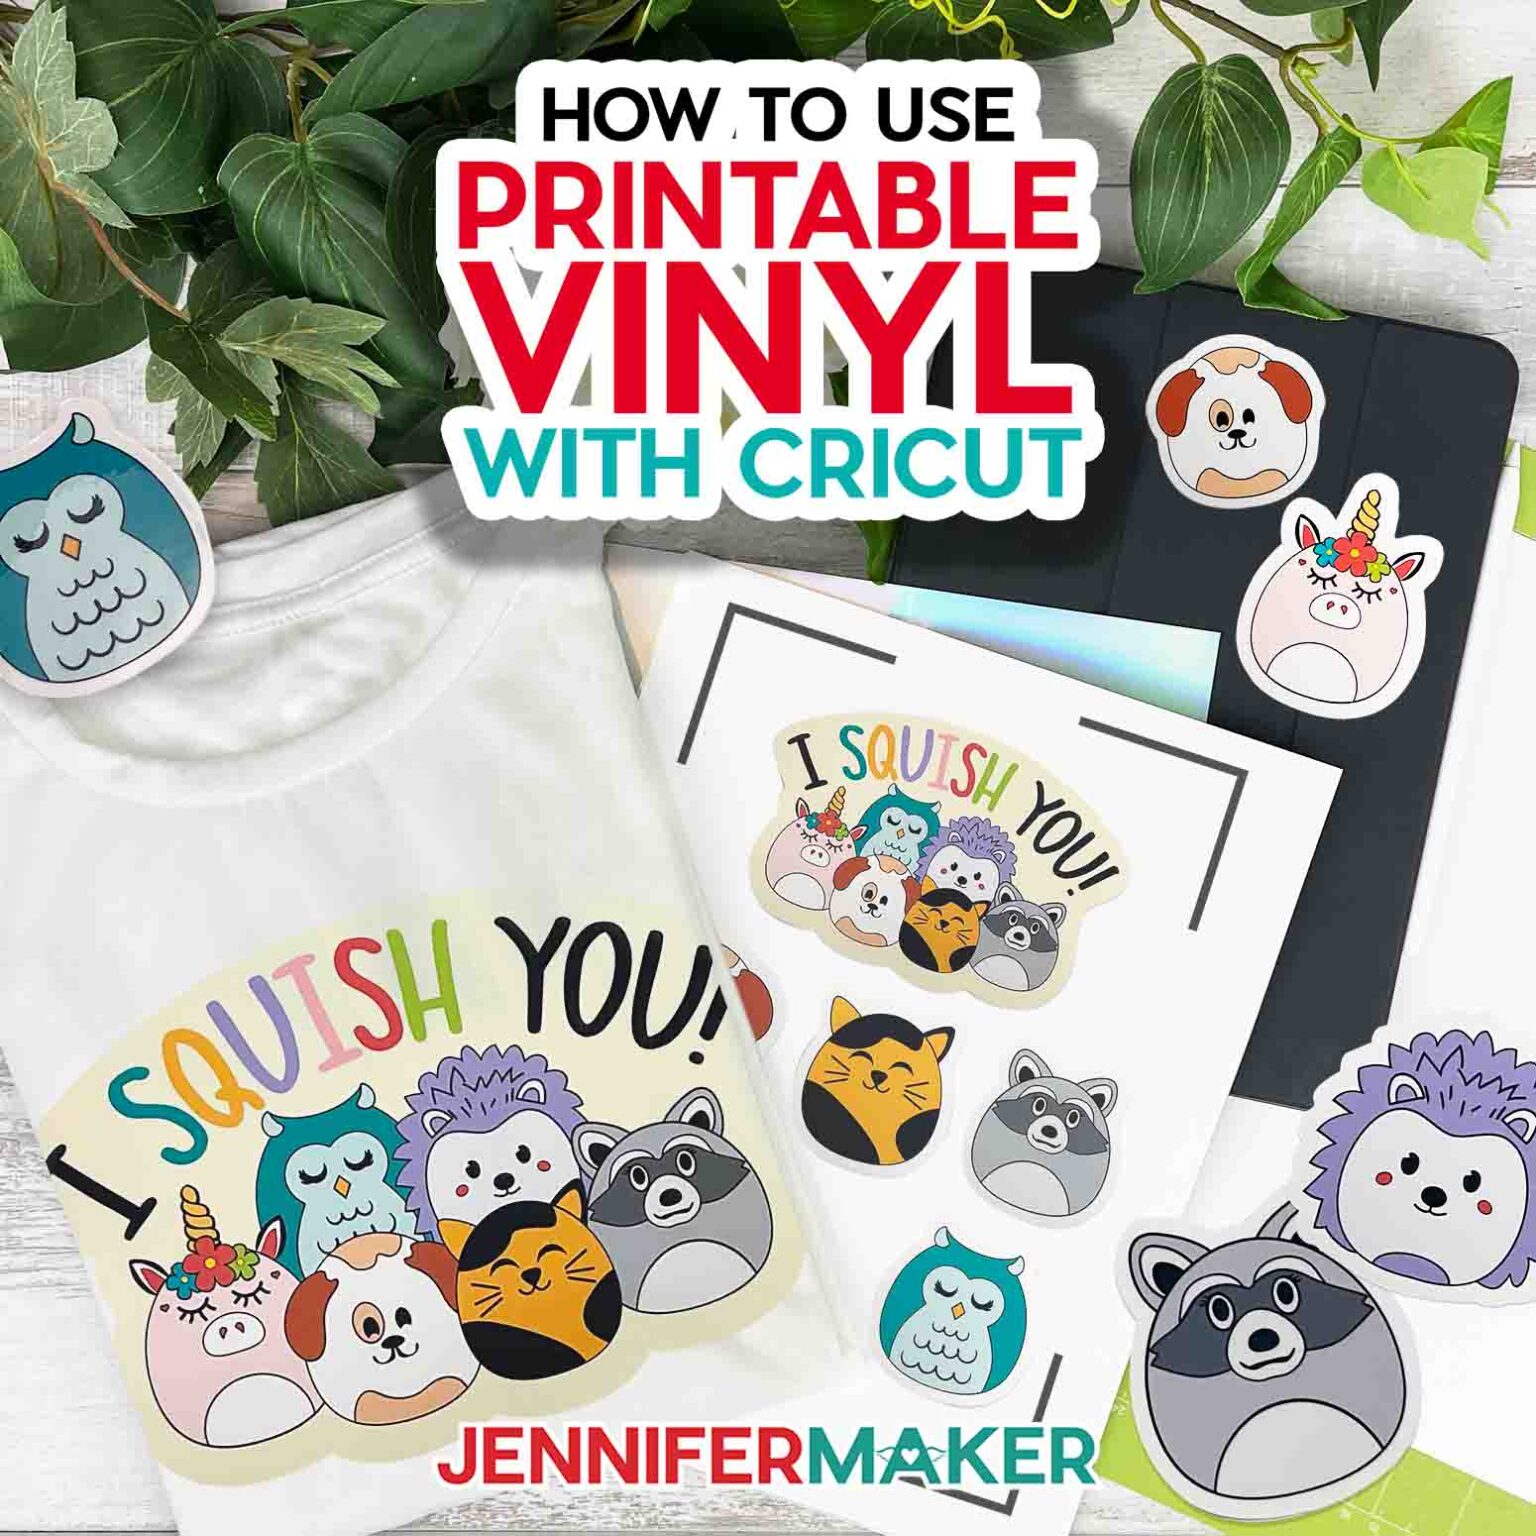
A Beginner's Guide to Using Printable Vinyl with Cricut


Getting Started with Printable Vinyl
If you're new to the world of Cricut crafting, you might be wondering how to use printable vinyl. This versatile material allows you to create custom decals, stickers, and other designs that can be applied to a variety of surfaces. With the right tools and a little practice, you can unlock a world of creative possibilities. In this article, we'll take a closer look at how to use printable vinyl with your Cricut machine.
To get started, you'll need a few basic supplies, including printable vinyl, a Cricut machine, and a computer or tablet with design software. You can choose from a range of vinyl types, including glossy, matte, and clear, depending on the look you want to achieve. Once you have your materials, you can begin designing your project using Cricut's Design Space software or other compatible programs.
Tips and Tricks for Working with Printable Vinyl
When working with printable vinyl, it's essential to follow a few key steps. First, make sure your vinyl is properly aligned with the cutting mat and that your Cricut machine is set to the correct settings. Next, send your design to the Cricut and let it do the cutting. After the cutting is complete, use a weeding tool to remove excess vinyl and apply transfer tape to your design. This will allow you to apply your decal or sticker to your desired surface.
As you become more comfortable working with printable vinyl, you'll want to keep a few tips and tricks in mind. For example, make sure to mirror your image before cutting if you're creating a design that will be applied to the inside of a window or other surface. You should also experiment with different vinyl types and settings to achieve the best results. With practice and patience, you'll be creating professional-looking decals and stickers in no time. Whether you're a seasoned crafter or just starting out, printable vinyl is a great way to take your Cricut projects to the next level.