How To Print Shipping Labels On Shopify
Setting Up Shipping Labels on Shopify
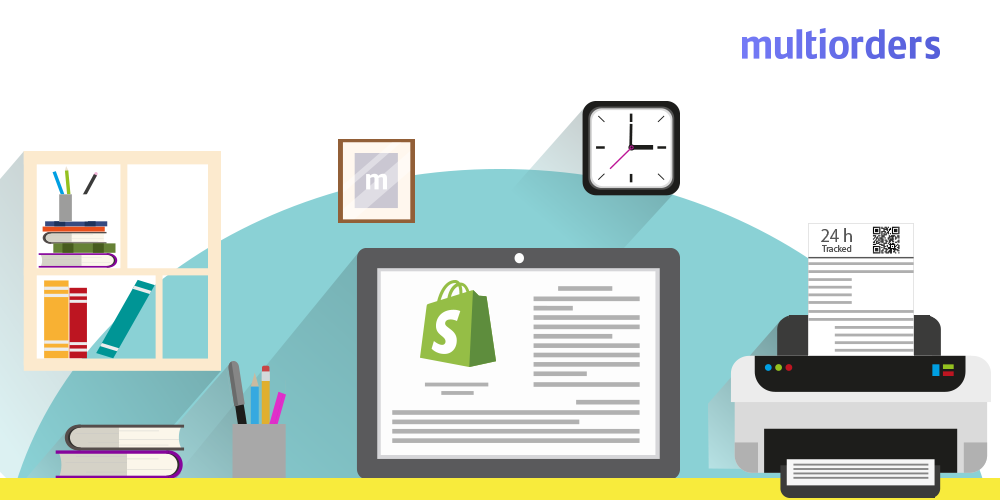
Printing shipping labels is an essential part of running an online store on Shopify. It helps you to fulfill orders efficiently and provide a better customer experience. With Shopify, you can print shipping labels directly from your dashboard, saving you time and money. In this article, we will guide you through the process of printing shipping labels on Shopify.
To start printing shipping labels, you need to set up your shipping options on Shopify. This includes configuring your shipping rates, printing options, and carrier accounts. You can do this by going to the 'Settings' section of your Shopify dashboard and clicking on 'Shipping'. From there, you can configure your shipping options and connect your carrier accounts.
Printing Shipping Labels: A Step-by-Step Guide
Once you have set up your shipping options, you can start printing shipping labels. This is where the real magic happens. With Shopify, you can print shipping labels for individual orders or in bulk. You can also customize your shipping labels to include your store's logo and other relevant information.
To print shipping labels, go to the 'Orders' section of your Shopify dashboard and click on the order for which you want to print a shipping label. From there, click on 'More actions' and select 'Print shipping label'. Follow the prompts to select your carrier, package type, and other shipping options. Once you have completed these steps, you can print your shipping label and attach it to your package. With these simple steps, you can print shipping labels on Shopify and start fulfilling your orders with ease.