
How To Print Labels In Google Sheets
Setting Up Your Labels
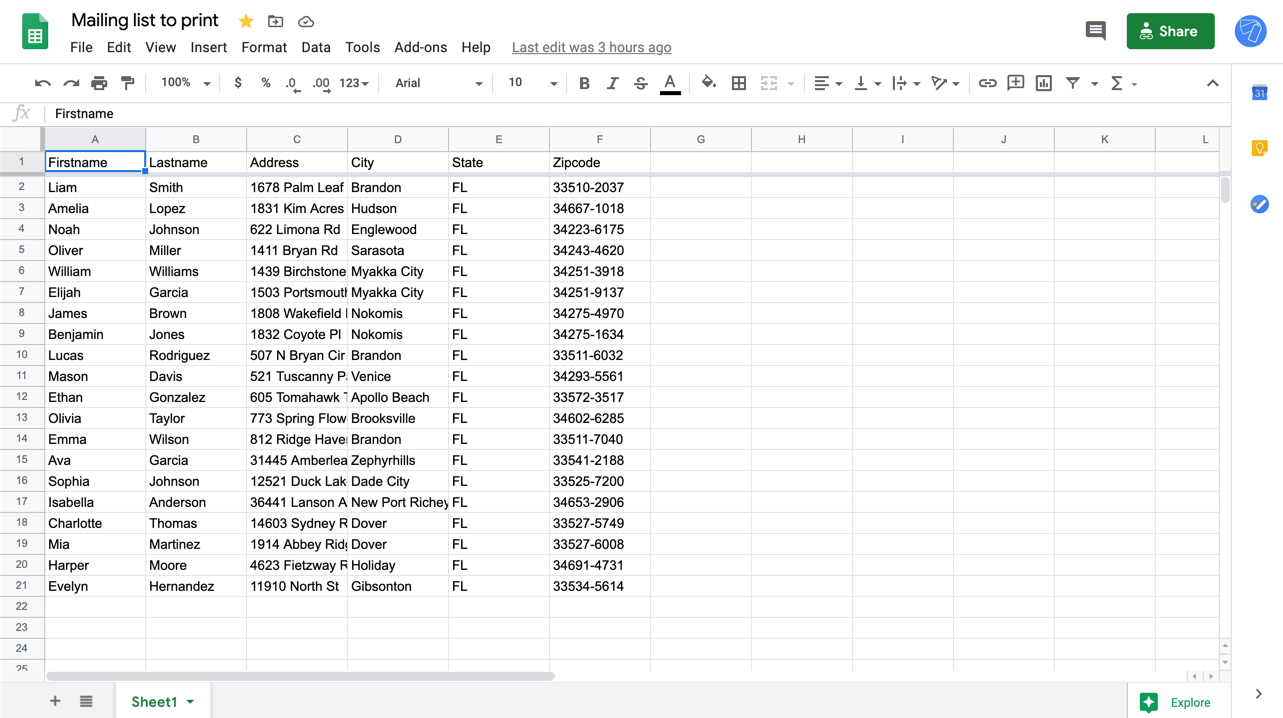
Printing labels in Google Sheets is a straightforward process that can save you time and effort. Whether you need to print labels for mailing, packaging, or organization, Google Sheets has got you covered. To get started, open your Google Sheets document and select the data range that you want to use for your labels. This can be a list of names, addresses, or any other information that you want to include on your labels.
Once you have selected your data range, you can use Google Sheets' built-in functions to format your labels. You can use formulas to merge cells, add text, and perform other operations to get your labels looking just right. For example, you can use the CONCATENATE function to combine first and last names into a single cell.
Printing Your Labels
To set up your labels, you will need to decide on the size and layout of your labels. Google Sheets allows you to customize the size and layout of your labels to fit your specific needs. You can choose from a variety of pre-set label sizes, or create your own custom size. You can also adjust the margins, font size, and other settings to get your labels looking just right.
Once you have set up your labels, you can print them out using your printer. Google Sheets allows you to print your labels directly from the spreadsheet, or you can save them as a PDF and print them later. To print your labels, simply select the data range that you want to print, and then click on the 'Print' button. You can then select your printer and print settings, and click 'Print' to send your labels to the printer.